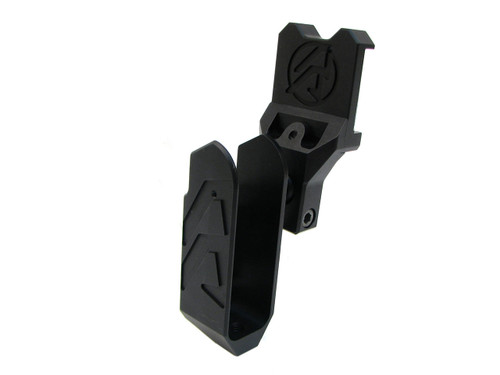
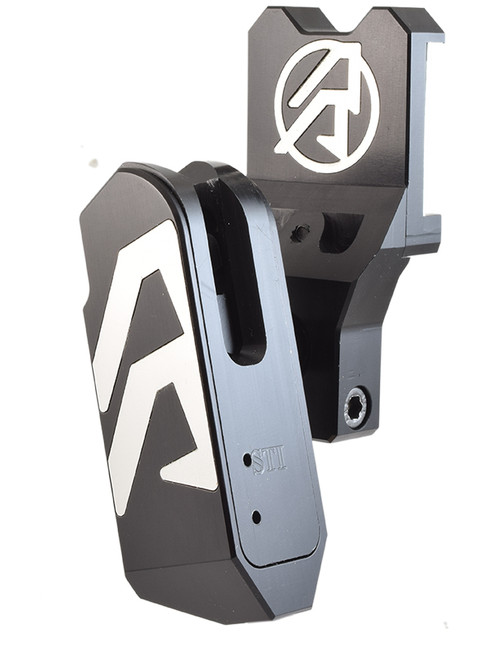
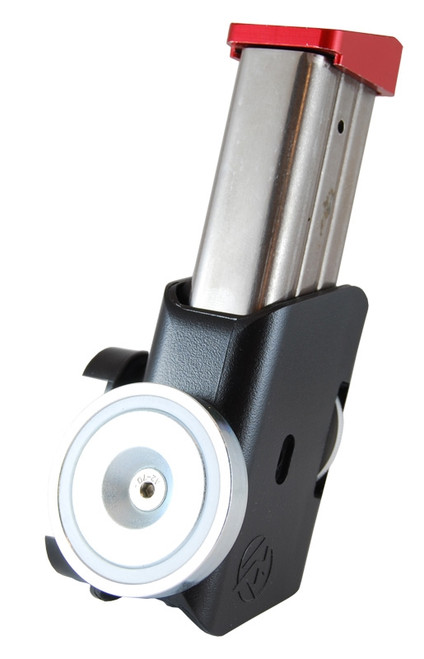
DAA Magnetic Alpha-X Holster Insert Block by Double Alpha Academy
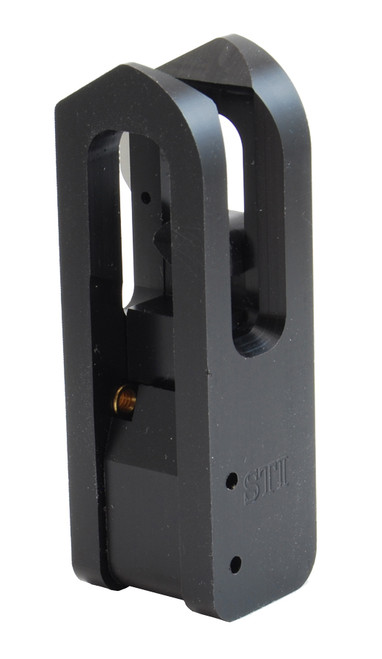
The Insert Block Assembly includes:
1. The Locking Block (gun specific).
2. The Sliding Lock, assembled (gun specific).
3. The safety lever, assembled.
4. The internal magnetic activation system, assembled.
5. “Magnetic logo” to cover over side hole in holsters which may still have it.
The Insert block grips the pistol only on the front end of the trigger guard, and a very precise fit is required in that area. In some cases some light modifications to the Insert Block may be required.
Should you need to dismantle your insert block for some fitting, follow these steps:
1. Remove the insert block from the holster by removing the two small M4 screws from the back of the holster.
2. Using a punch and hammer, push the two steel pins from the front of the block towards the back (push from the side with the gun type engraved). These pins may be tight.
3. Once the pins are out, the plastic wedge holding the 2nd magnet will come out. Make sure the magnet does not fall out the part. It is usually held snugly it its pocket.
4. Use a marker to make a dot on the top of the magnet which is embedded in the slide lock. This will make it easy for you to ensure that you reassemble it with the correct side up. Most likely it will fall out or you will want to remove it while fitting the slide lock.
5. To remove the slide lock from the block, unscrew the M3 screw visible from the back of the block – and then slide the slide lock upwards and out through the window in the block – passed the safety lever, which must be in the unlocked position.
To reassemble- reverse your steps.
The Race-Master Holster Insert Blocks are design to be used in either RH or LH holsters. The same insert works for both.
